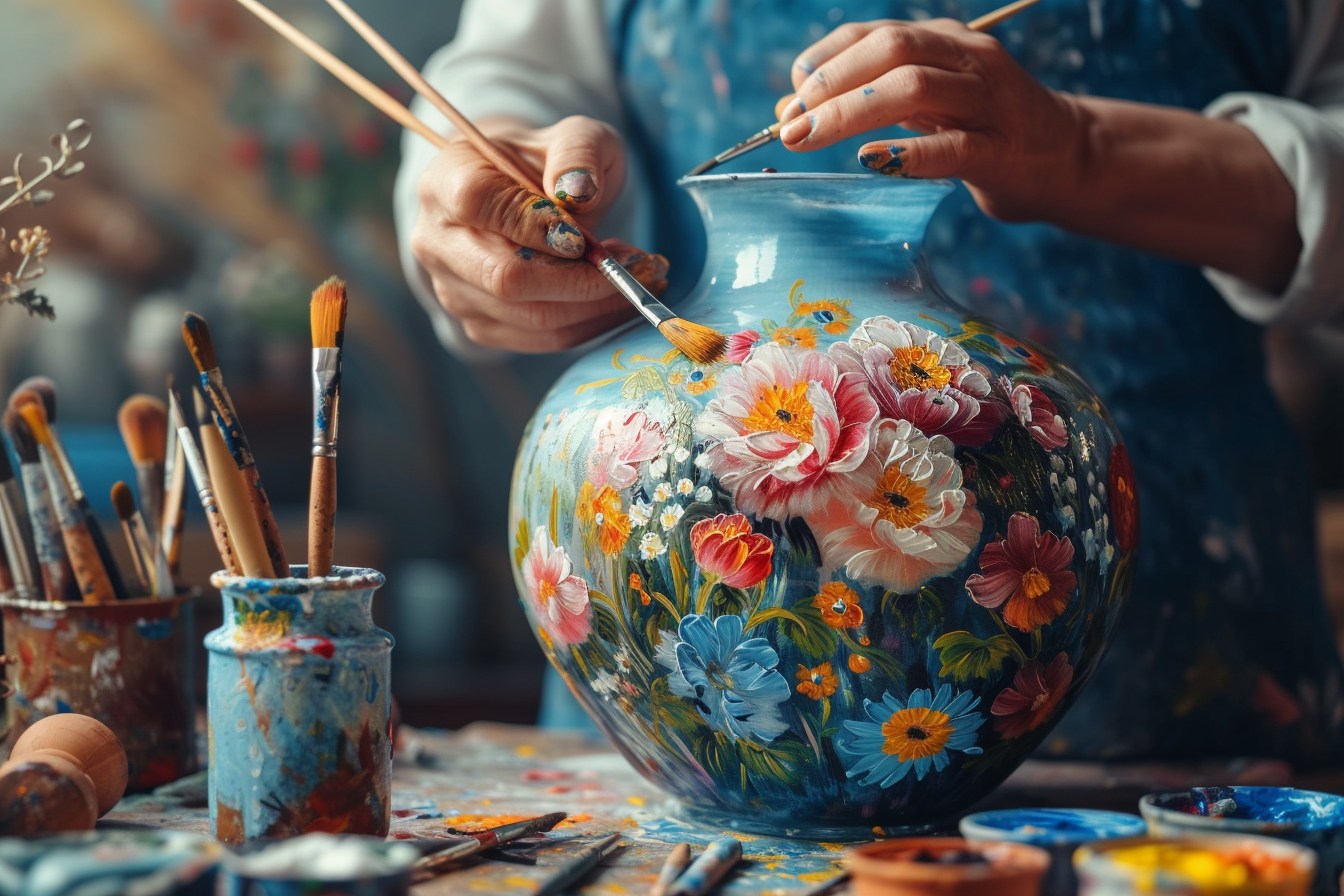
Transforming a plain piece of glass into a work of art is an incredibly satisfying project. Whether you’re looking to add a personal touch to your home decor or want to create a unique gift for someone special, glass painting is a versatile craft that’s both enjoyable and functional. This in-depth guide will walk you through a variety of stunning paint techniques to elevate your glass artistry.
Preparing your workspace and materials
To get started, you’ll need to set up an appropriate workspace and gather the necessary materials. Make sure your workspace is well-ventilated, as some paints and cleaners may release fumes. Cover the working area with newspaper or a protective cloth to prevent stains. Gather the following items before beginning the transformation process:
- Glass item(s) to be painted (vases, windows, jars, etc.)
- Glass cleaner
- Lint-free cloths or paper towels
- Paints specifically designed for glass (enamel paints, acrylics, frosted glass sprays, etc.)
- Paintbrushes in various sizes
- Palette or mixing tray
- Stencils (optional)
- Masking tape
- Toothpicks or cotton swabs (for cleanup)
- Oven (for heat setting, if instructed by paint manufacturer)
Important: Clean the glass thoroughly with glass cleaner to remove any grease, dust, or fingerprints, which could prevent the paint from adhering properly.
Choosing your glass paint

Selecting the correct paint type for your project is critical. Glass paints come in various formulas, including solvent-based, water-based, and non-toxic options for those who prefer eco-friendly or child-safe projects. Solvent-based paints tend to be more durable and scratch-resistant, while water-based paints are easier to work with and clean up.
Note: Read the manufacturer’s instructions for the paint you select, as some may require baking to set, while others may air-dry.
Basic painting techniques
Solid coat application
Begin your glass painting project with a simple solid coat technique:
- Stir the paint to ensure it’s well-mixed.
- Use a flat brush to apply an even layer of paint. Long, smooth strokes help avoid brush marks.
- Allow the first coat to dry completely before applying a second coat for a more opaque finish.
Gradient effect
Creating a gradient on glass is a way to add dimension and interest:
- Choose two or more colors that blend well together.
- Start with the lightest color at one end, gradually introducing the next color.
- While both colors are still wet, use a clean brush to blend the area where they meet, creating a seamless transition.
Frosted glass
Frosted glass spray paints offer a beautiful, semi-transparent finish:
- Tape off any areas you do not want to frost.
- Shake the can well and hold it approximately 8-10 inches from the glass surface.
- Apply the spray in a steady, back-and-forth motion to achieve an even coat.
- Apply additional coats if necessary, allowing ample drying time in between.
Advanced decorative techniques
Once comfortable with basic techniques, you might explore more advanced decorative methods to enhance your glass art.
stenciling
Stencils are a fantastic way to add intricate designs:
- Affix the stencil to the glass using masking tape.
- Apply paint with a stencil brush using a stippling motion.
- Carefully remove the stencil while the paint is still wet, and clean any errors with a toothpick or cotton swab.
Marble effect
A marbled effect gives your glasswork a luxurious appearance:
- Fill a disposable tray with water.
- Pour droplets of your chosen colors into the water, letting them spread and swirl.
- Dip your glass item into the water, and the paint will cling to the surface.
- Lift out and let the design dry for a unique marbled pattern.
Textured application
Texture in glass painting adds depth:
- Use paint with a thicker consistency, or mix with a texturizing medium.
- Apply paint with a palette knife or a textured brush.
- Experiment with different tools (e.g., sponges, fabric) to press patterns into the wet paint.
Sealing and curing your paint
To ensure the durability of your glass painting, sealing and curing are crucial steps:
- For paints requiring baking, place the glass item in a cold oven, set the recommended temperature, and bake for the time specified by the paint manufacturer. Then, turn off the oven and let the glass cool down slowly inside it to prevent cracking.
- For air-dry paints, simply leave the item undisturbed for the amount of time suggested by the manufacturer. Proper curing times range from hours to days.
Frequently asked questions (faqs)
Can I wash hand-painted glassware?
Most hand-painted items, especially those that have been sealed and cured correctly, can be washed gently by hand. Avoid abrasive sponges and harsh chemicals.
Do I need to varnish my painted glass?
Some glass paints will require a varnish over the top to protect the design, while others have a built-in sealant and don’t require extra varnishing.
Can I make my glass painting permanent?
Following the correct curing process according to the paint instructions makes the design as permanent as possible. Dishwasher-safe mod podge can offer an extra layer of protection for items that will be frequently washed.
Crafting stunning, painted glass items adds a touch of personalized flair to any space or occasion. With patience and practice, the techniques outlined in this tutorial can lead to spectacular results. From a simple, frosted look to intricate, marbled designs, your creativity is the only limit to transforming glass into breathtaking masterpieces. Keep exploring new methods, and your skills in glass painting will undoubtedly flourish.


Leave a Reply